Just 3 short months ago, I got married in one of the most beautiful outdoor ceremonies I could have imagined. Everything was perfect, right down to the last detail. How did I make sure the decor was exactly what I was dreaming of? Easy… I made it all myself.
You must be thinking, “How much time did that take you?” or “I don’t want anything to take away from me enjoying my wedding”. To be honest, making my own decorations didn’t take anything away from my special day. That’s because I had them finished weeks before my wedding date. And I have to be honest, as I briefly mentioned in my last post about DIY weddings, they’re not for everyone. You must enjoy creative outlets, and most importantly, you must plan way in advance.
My Paper Flower Escort Cards: How They Came About
I started researching wedding ideas about a year before the wedding. When looking at other blogs, I realized how much the place cards were photographed, and how much of a personalized touch they could add to the wedding.
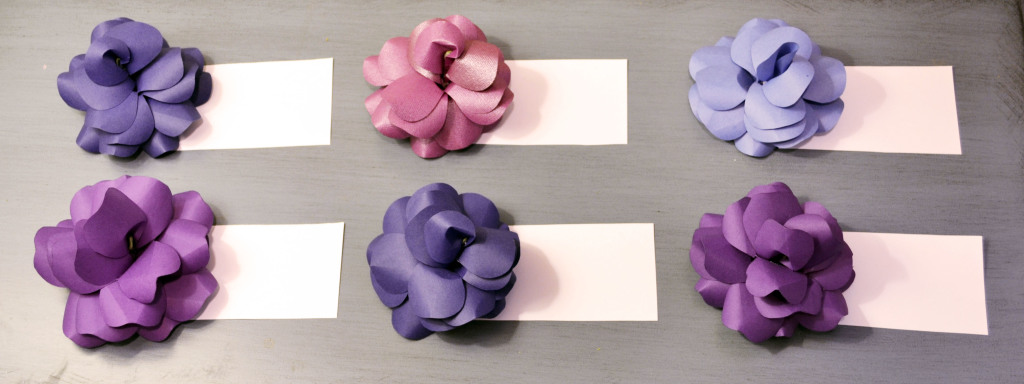
I stumbled upon an ETSY listing selling paper flowers attached to simple white 2×4” pieces of paper as placecards. “JACKPOT” I thought. This would go perfectly with my garden theme while adding color to the reception. The unfortunate reality of these were that they were priced $3-5 each, depending on the color and quality of the paper. Expecting about 110 guests, it was going to cost me $300-$550 – FOR PLACECARDS!!
Absolutely not! I was not willing to spend that kind of money on a detail that was unnecessary. But I still HAD to have them – go figure! So I decided to make them myself.
How To Make DIY Paper Flowers
Of course, there are many ways and variations to make your own paper flower place cards. Here, I’m going to show you how I made the flower itself, and the materials used. Everything is fluid. Use these steps to make your own, but take creative liberty. The more you personalize, the better!
The Necessary Tools:
- Colored Paper or Cardstock
- Sharp scissors
- Hot glue gun
- Green floral wire (I used the cloth covered kind)
The Steps:
- Pick out a few colors of paper that go with your theme. It is easier to use a lightweight type of paper, but it’s often hard to find in various colors and often fragile. I went and bought 2 packs of cardstock from Michaels in blue and purple hues that went with my color scheme. The cardstock gave the flowers a heavier weight which made them more durable and expensive looking.
- Download the rose design here. It is optimized for an 8.5×11” sheet of paper. Each piece is numbered so you know which one to start with when making your flower (#1 is first, #7 is last).
- Cut each piece out along the lines. Or if you have any sort of cutting machine, upload the PDF into your software and have the machine do it for you. I wish I had my Silhouette when I was making mine. The cutting is the longest and most tedious part of the process. Fair warning!
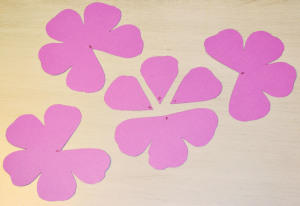
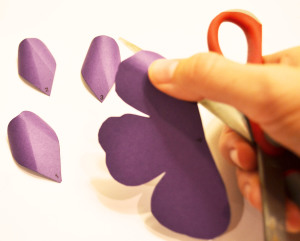
- Once you have your pieces cut, curl the edges back with your scissors. If you are unfamiliar with this process, it’s the same as curling ribbon for a present. Open your scissors and take the sharp edge to the back of the paper, press against it, and move the scissor towards the edge of the paper. Do this to each edge of each piece of paper you’ve cut.
- Now get out your floral wire. Bend the top into a tight “hook” shape, to give the flower it’s start.
- Get piece #1 and put a dot of hot glue at the bottom (where the1 is written). Make sure your glue is on the right side of the paper so that the curled edge faces OUTWARD (away from the glue). Gently wrap that piece around the top of the bent wire, about where the hook ends.
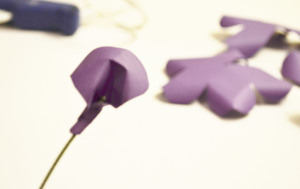
- Take pieces 2 and 3 and do the same thing, wrapping them around the wire in a pattern that starts to form the center of your “rose”.

- For piece 4, put a dot of glue on the little lip that stick out of the petal. Wrap the piece in a cone shape around the wire, again, so the curled edges face outward. You can do this towards the bottom of the wire. It’s easier to handle this way, and you’ll move it into place next.
- Now, put a dot of glue at the center of piece 4 and move it up until it attaches to the bottom of the center of the rose (pieces 1 through 3).
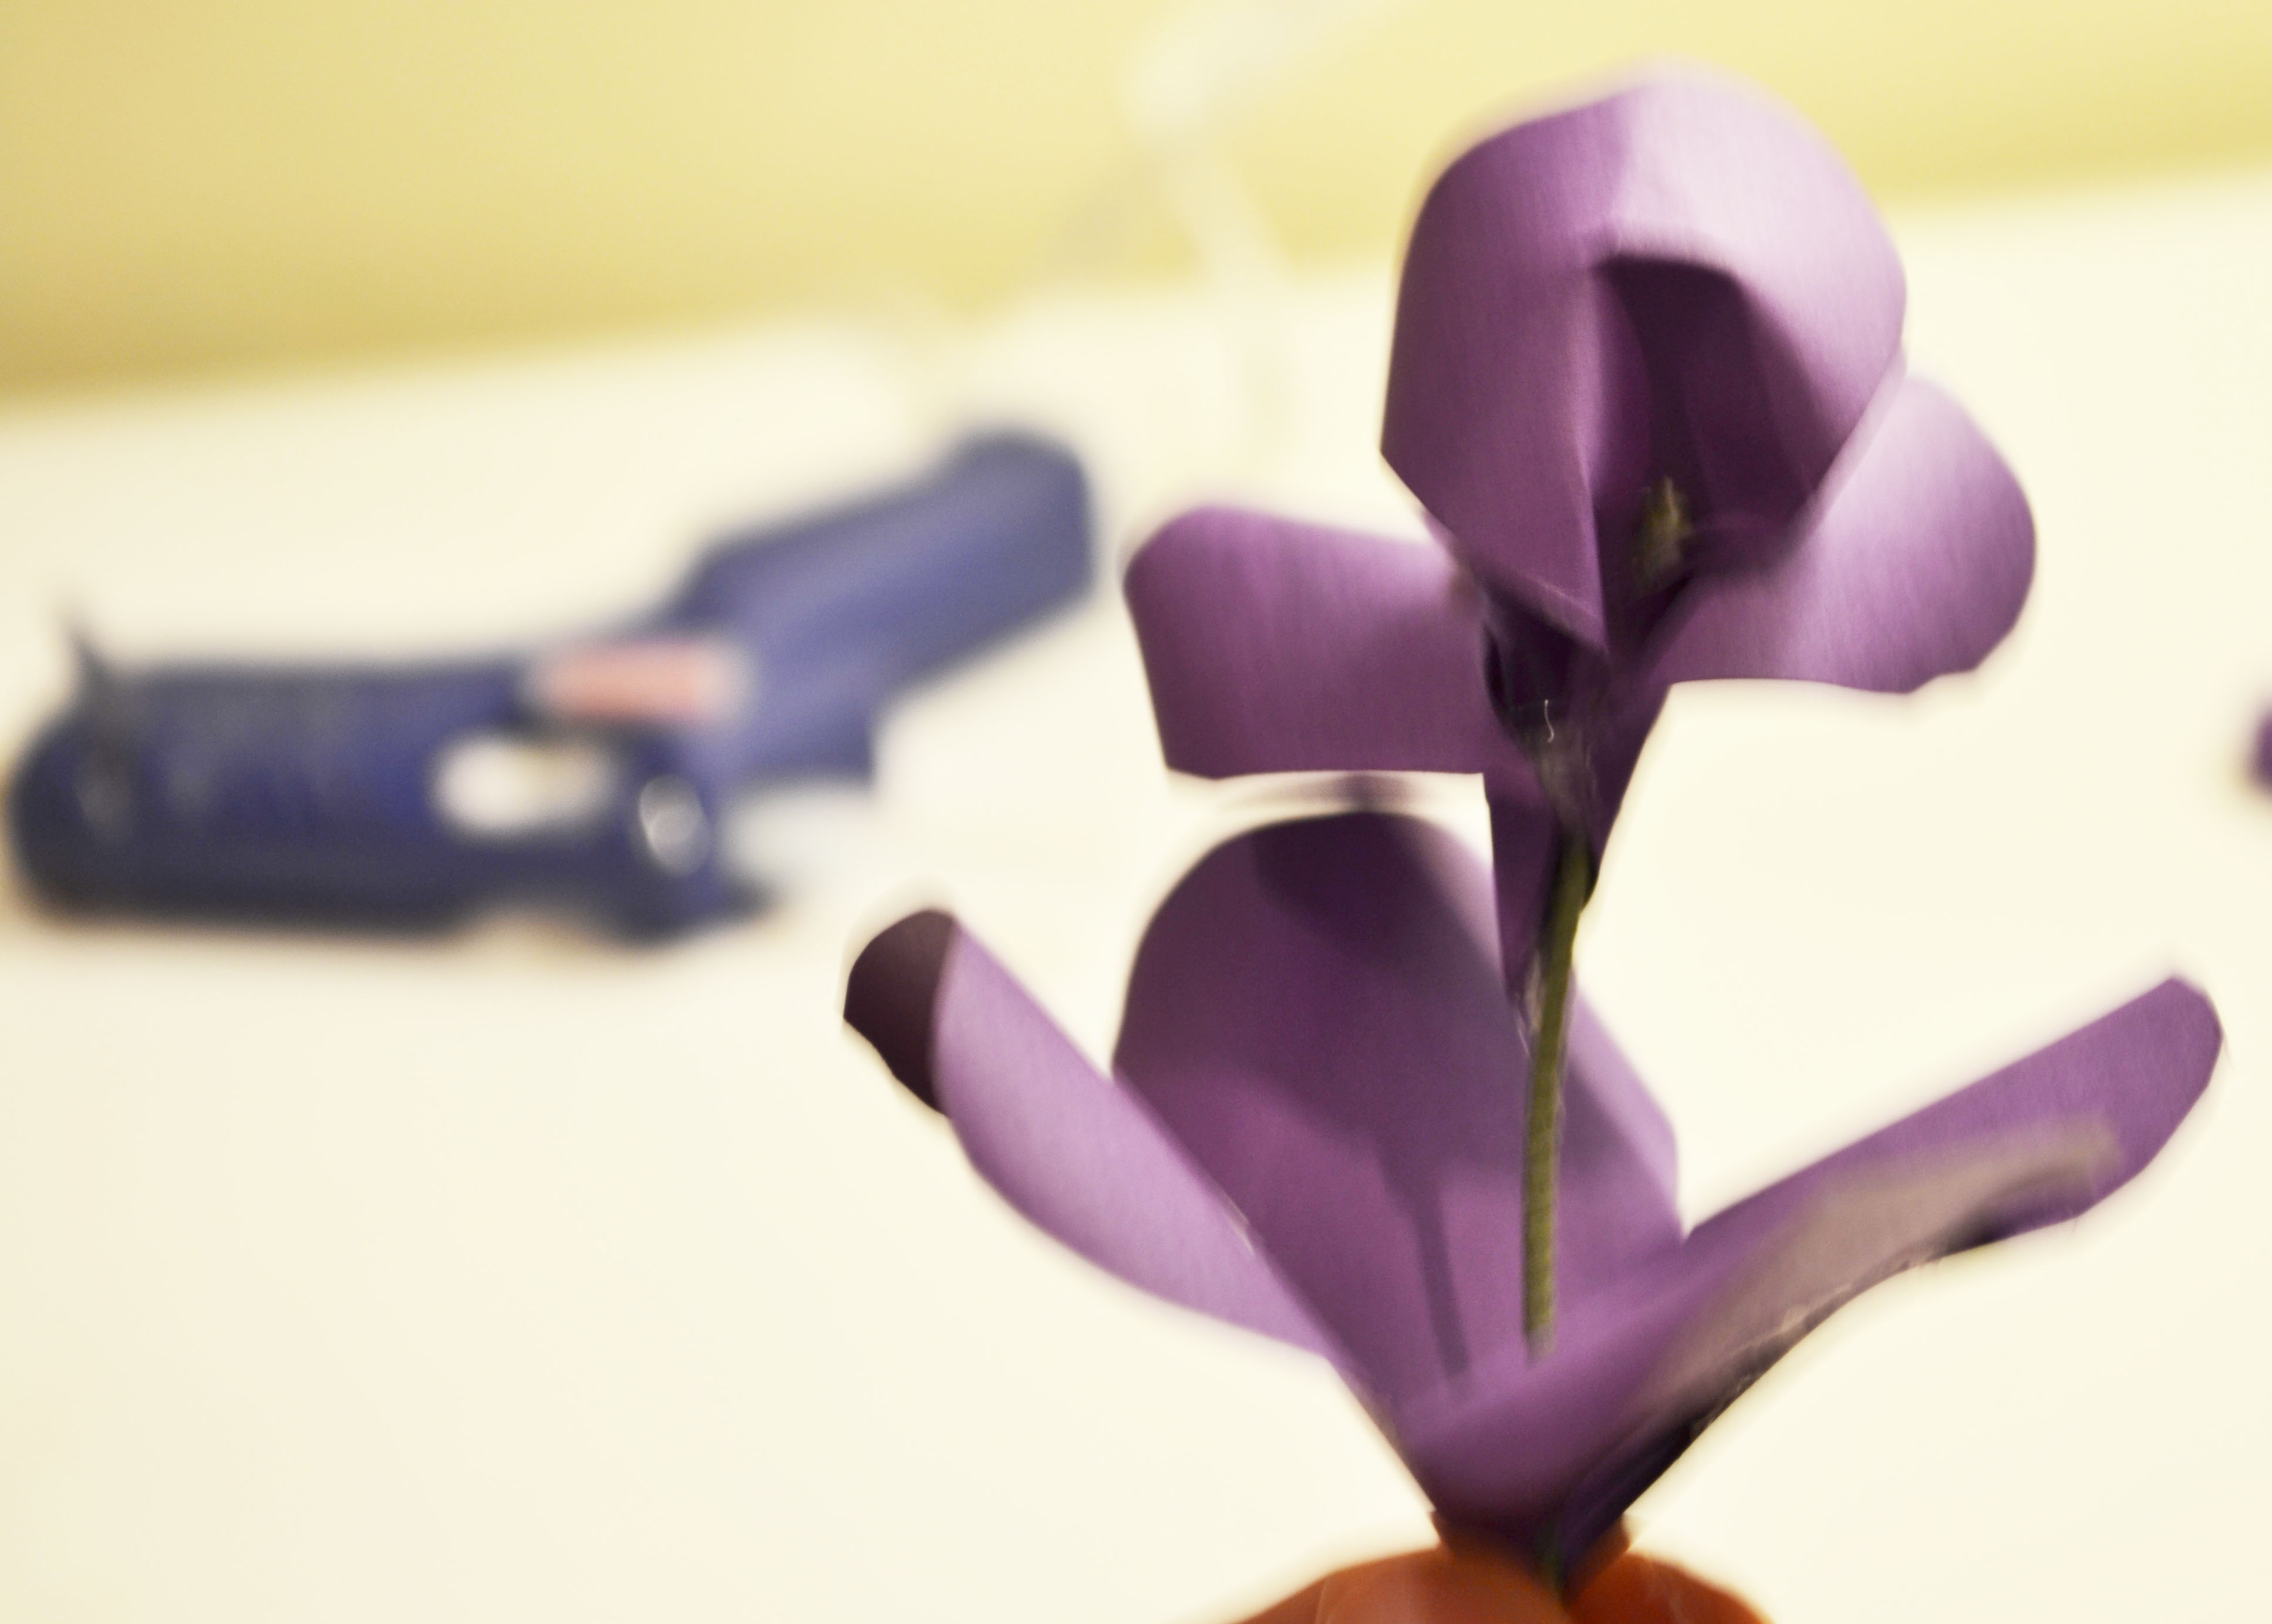
- Repeat steps 8 and 9 for the remaining 3 pieces of paper
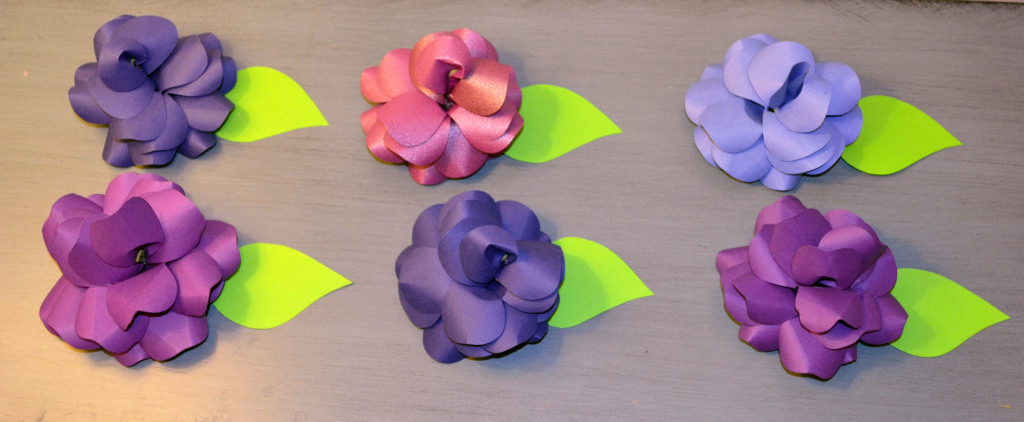
- Voila! Your paper rose is complete! Now for the finishing touches….
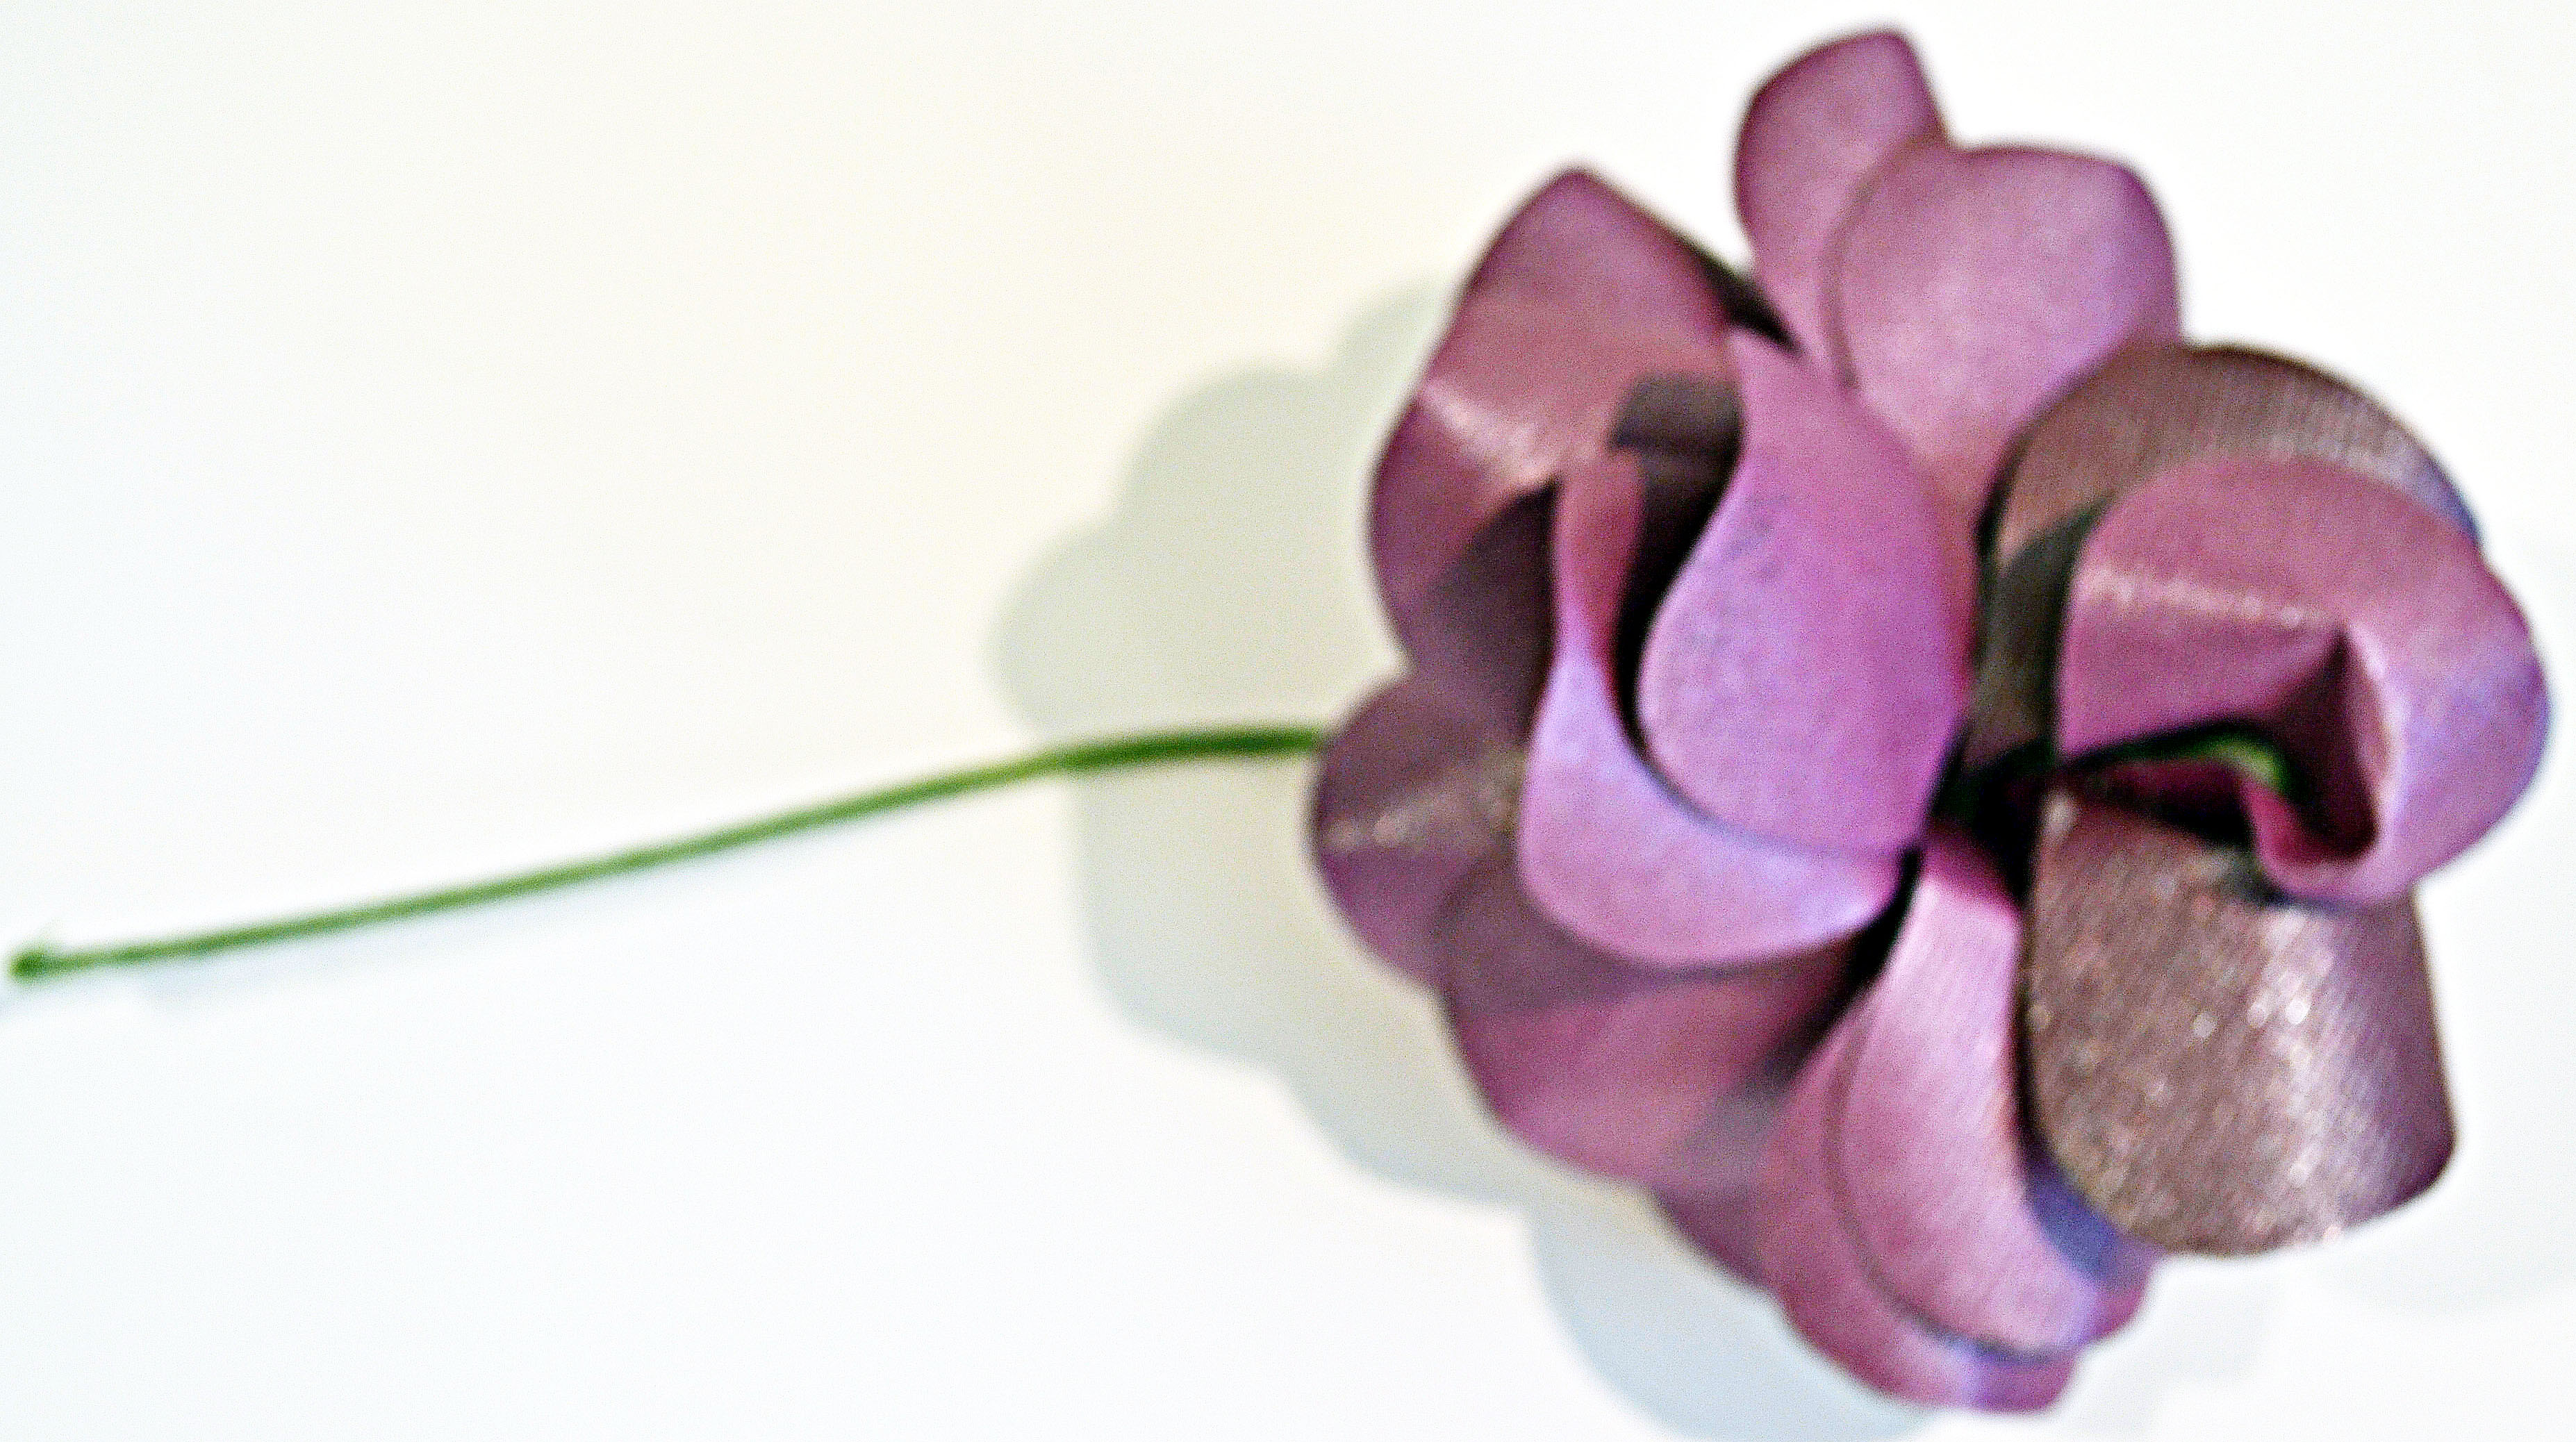
How I Made Paper Flowers Into a Garden
As I mentioned previously, I wanted everything customized. EVERYTHING. Making the flowers was easy, but I had seen these advertised as place cards before. SO I decided to take my place cards to the next level and make them into a garden.
The Necessary Tools:
- Paper flower (from steps above)
- Wire Cutter
- Green cardstock for leaves (I used 3 different shades)
- Hot glue gun
- Floral foam
- Flower pots or opaque vases
- Crafting moss (I used reindeer moss)
The Steps:
- Download the leaf design here. It is optimized for an 8.5×11” sheet of paper.
- Cut each piece out along the lines. Or if you have any sort of cutting machine, upload the PDF into your software and have the machine do it for you. The leaves are MUCH less tedious to cut than the flower petals, as you only need one leaf per flower.
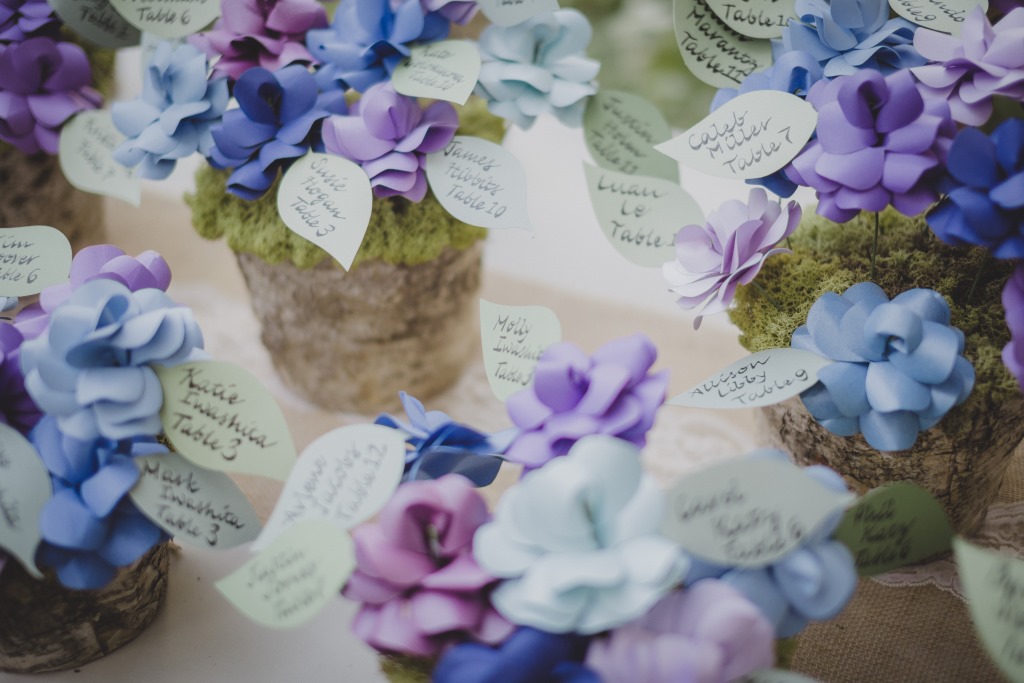
- Write your guests names and table numbers on the leaves. Each leaf had a “stem” that you’ll glue and attach to the flower. Make sure you write the names with the stems pointing both left and right. You don’t want all the leaves facing the same direction, and you don’t want names ending up upside down either.
- Take your flower pots and put the floral foam inside. The foam is square, and your pots will most likely be round. You’ll have to cut the foam and put a bunch of different pieces in there to fill most of the pot. That is a-ok (and exactly what I did). The foam is easy to cut and manipulate.
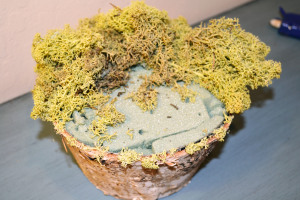
- Take your moss and, in chunks, hot glue it to the top of the foam and the sides of your pots. You don’t need a layer of glue to make it stay, but just dots of hot glue here and there should do the trick.
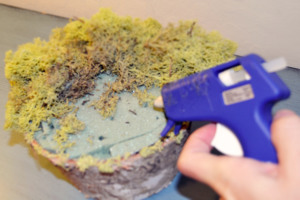
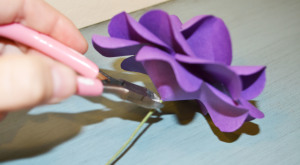
- Cut the stems with the wire cutter, as needed, to make the flowers different heights. You should try to position the longer flowers towards the back of the pots, and the shorter flowers towards the front. This makes it easier for your guests to spot their name. Now, take your paper flowers and put them into the foam.
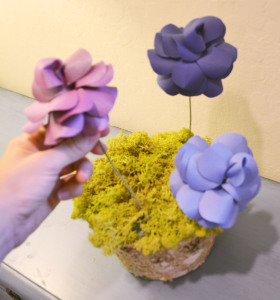
- Finally, attach the leaves to the flowers. Use your hot glue gun to put a dot of glue on the stem of the leaf. Then, either attach the leaf to the stem of the flower, or directly to the bottom of the flower. Try to arrange them in some sort of alphabetical order (again) so it’s easy for people to find their name
- Last step is to number the bottom of your flower pots. You have your guests names in a specific order, and you’ll want to be able to position them perfectly on your wedding day. Put numbers on the bottom of the pots, then draw a diagram to show where exactly each pot should be placed. This will make it as easy as cake for you or your friend/coordinator to recreate your place card garden on your special day.
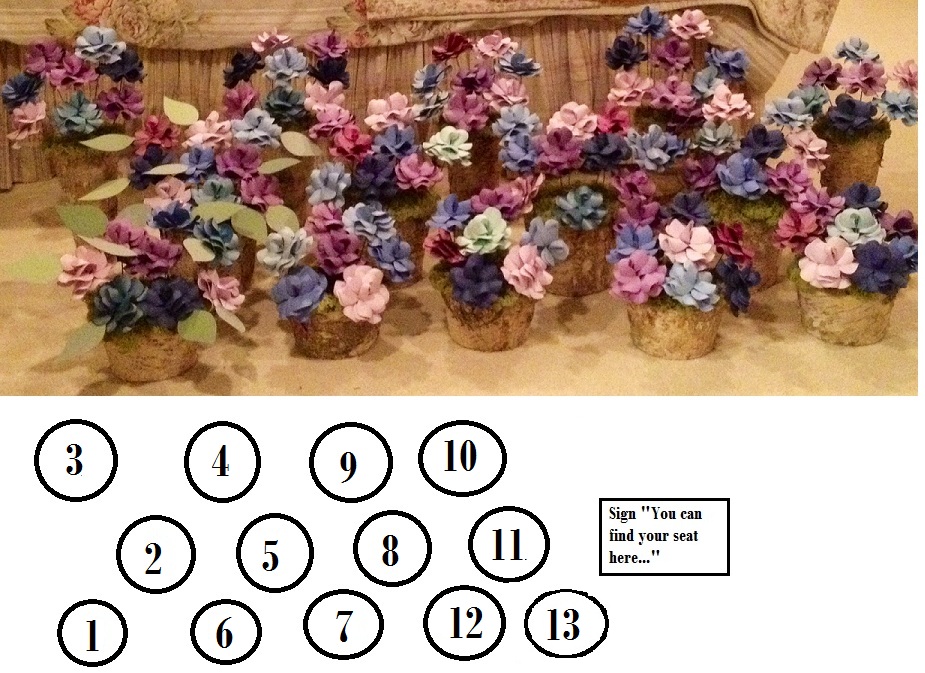
My finished version looked like this:
Simple Variations on the Paper Flower Escort Card Idea
For my day, I was obsessed with my unique garden idea. You might like the paper flower idea, but be thinking “WHATT does she want me to do?”. For those of you that like the idea, but want to forget the garden fluff, here are some variations:
Option 1:
- Follow the DIY flower tutorial above as well as the leaf name card tutorial. Omit the pots altogether.
- Once done with your rose and you’ve put all the names and table numbers on the leaves, cut the wire from the bottom of the rose.
- Attach the leaf stem directly to the bottom of your rose with hot glue.
- Voila! Simple floral place cards.
Option 2:
- You can do the same as above, but instead of using a leaf to write the names and table numbers, use a 2×4” piece of card stock. This way you can either write the names or print them out from your computer. These are the more standard version I saw on Etsy that eventually inspired my garden.
How to Save Money with DIY Paper Flowers
Paper florals are not limited to place cards either. You can choose as much or as little of your wedding to use these as you wish. Of course,you could take this to a whole other level and make ALL of your floral bouquets from paper. WHAT A PROJECT, huh?
You can get really creative with themes, too. If you’re REALLY into music, you could make all your wedding flowers out of music sheets. Or if you and your future hubby share a love of books, you could craft all your florals from vintage novels.
With florals running between $2k-$10k, this could be a huge win for your budget, all while adding unique touches of YOU!
If you LOVE these ideas, but just don’t have the time to DIY, feel free to visit my Etsy shop. I’ll be happy to make them for you!
But if you’re feeling inspired, here is the full list of supplies you’ll need to DIY. Happy Crafting!
- Paper Flower Place Cards
- Colored Paper or Cardstock
- Sharp scissors
- Hot glue gun
- Green floral wire (Cloth covered kind)
- Green card stock for leaves (2-3 different shades – if not printing names on white card stock)
- White card stock for escort cards (if not printing names on leaves)
- Entire Paper Flower Garden
- Everything listed above PLUS
- Wire Cutter
- Hot glue gun
- Floral foam
- Flower pots or opaque vases
- Crafting moss (Reindeer moss)
- Everything listed above PLUS

Leave a Reply